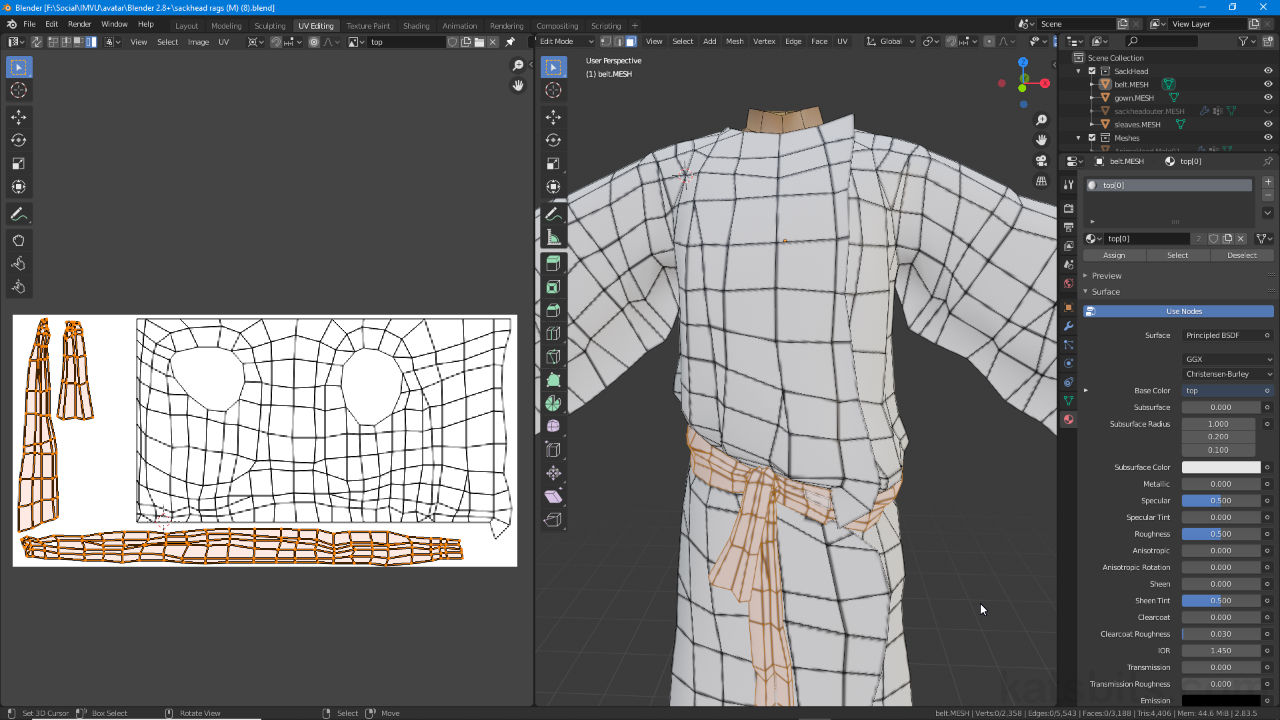
Blender Save Uv Map – The first step is to unwrap your model into a UV map. You can do this by selecting your model in Edit Mode, pressing U, and choosing one of the unwrap options. Depending on the shape and . Blender will automatically generate a UV layout based on your seams which uses a pre-defined environment map for lighting. You can also export your model and texture to another 3D software .
Blender Save Uv Map
Source : blenderartists.org
texturing Extracting a UV layout Blender Stack Exchange

Source : blender.stackexchange.com
UV Layout Blender 4.2 Manual
Source : docs.blender.org
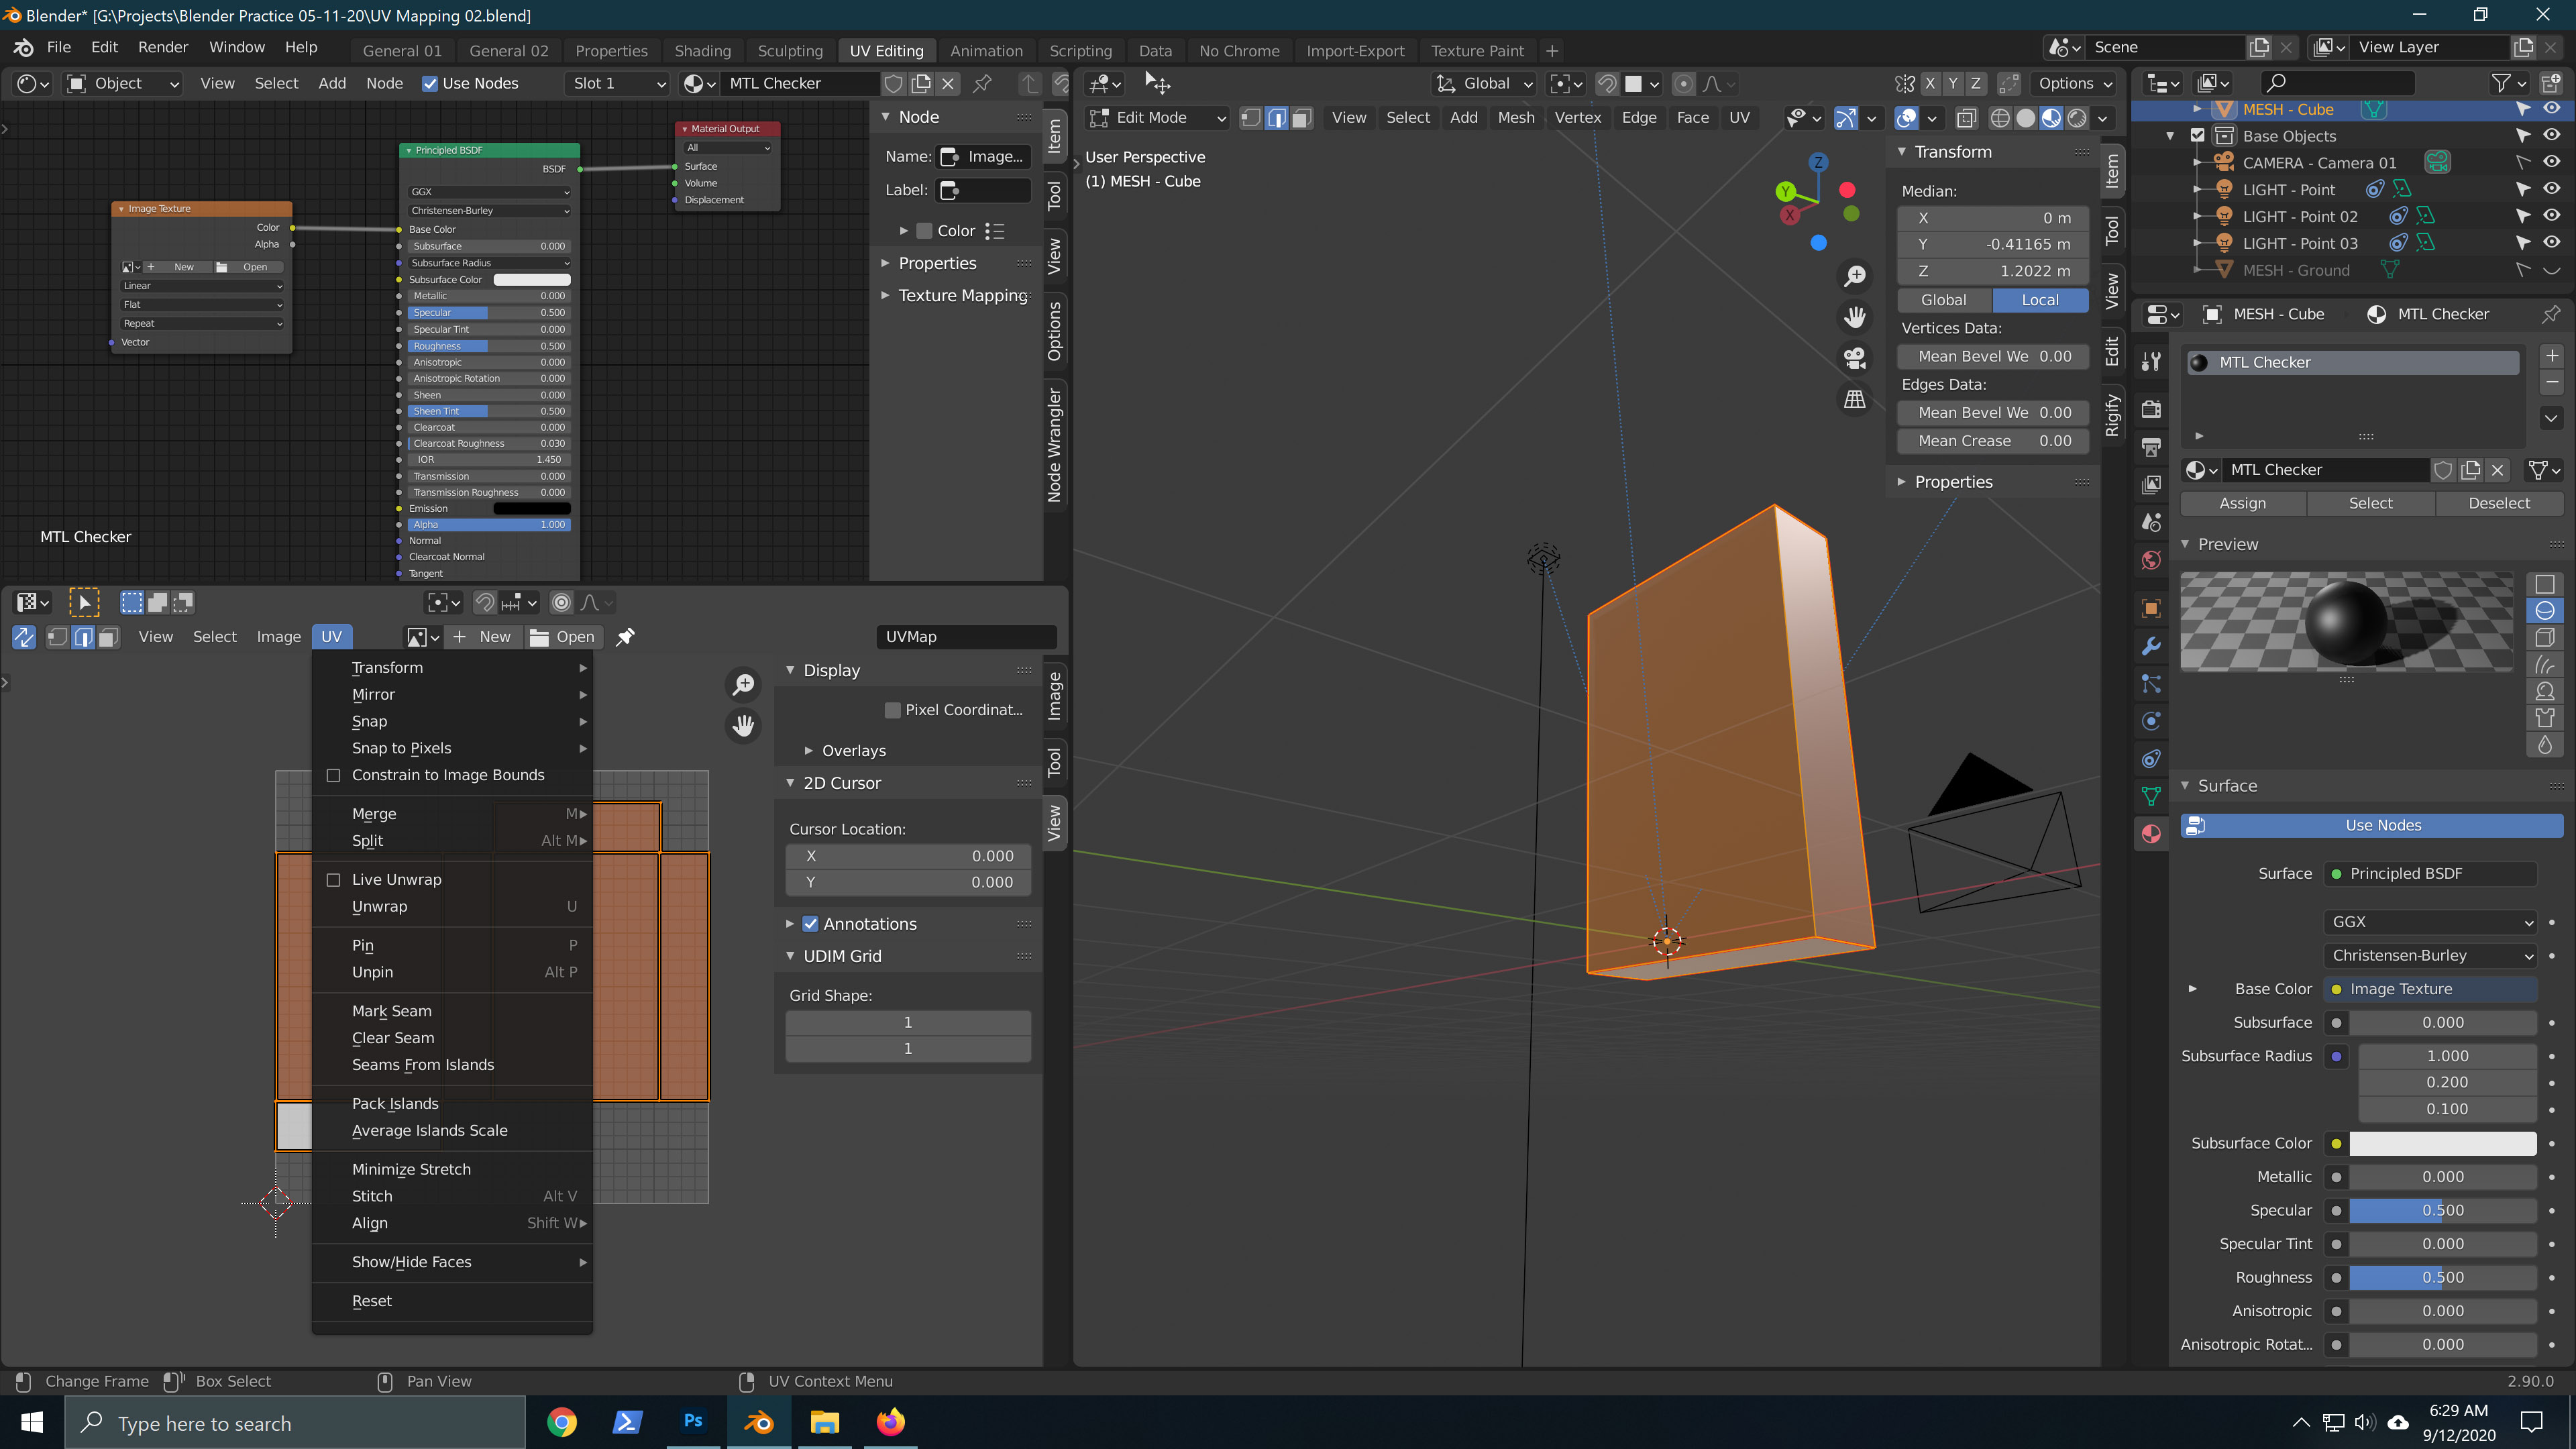
Save UV map to image Materials and Textures Blender Artists
Source : blenderartists.org
export Exporting UV maps to Gimp Blender Stack Exchange

Source : blender.stackexchange.com
Export UV MAP 2.8 (beta) Basics & Interface Blender Artists

Source : blenderartists.org
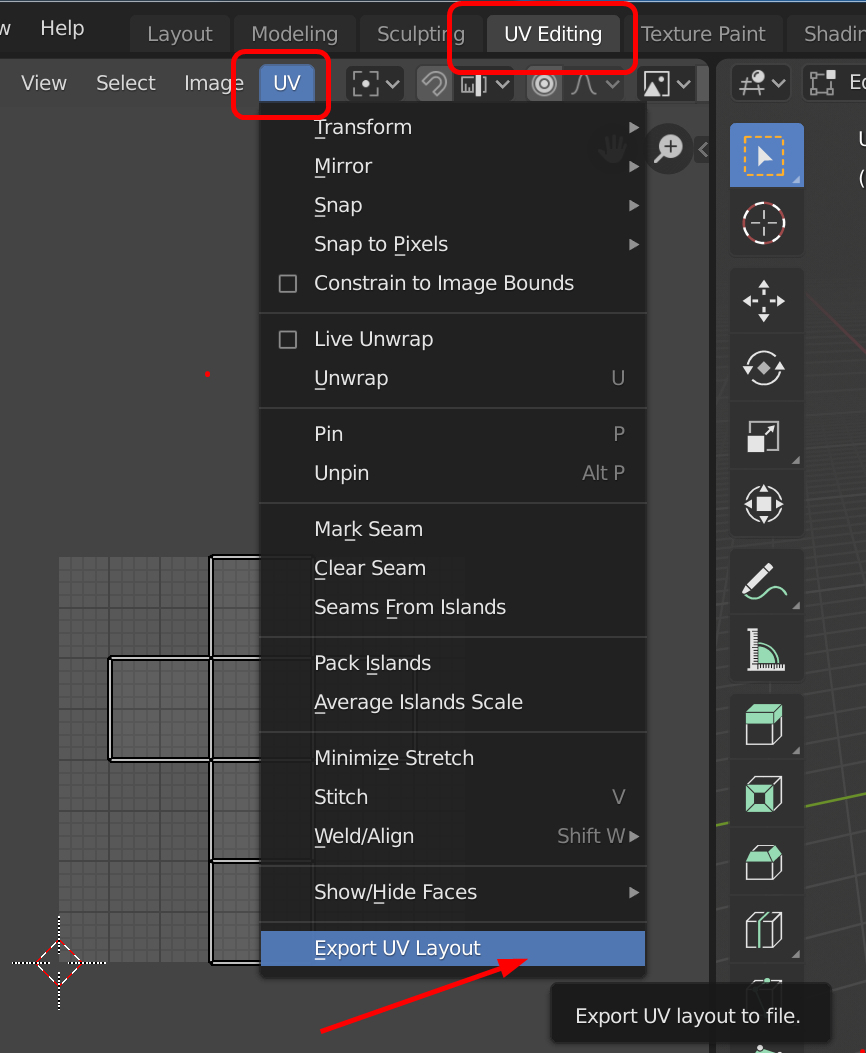
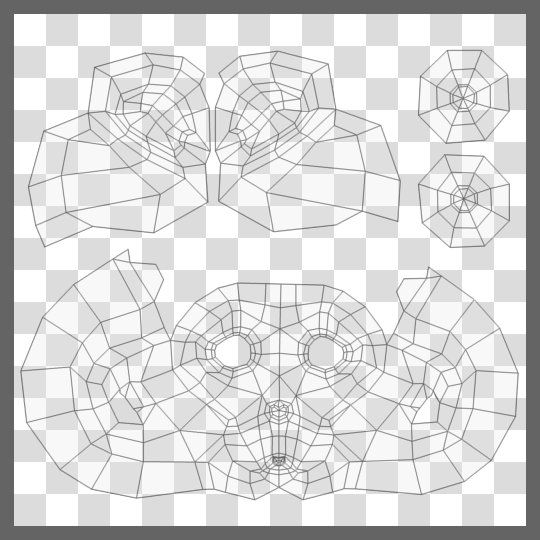
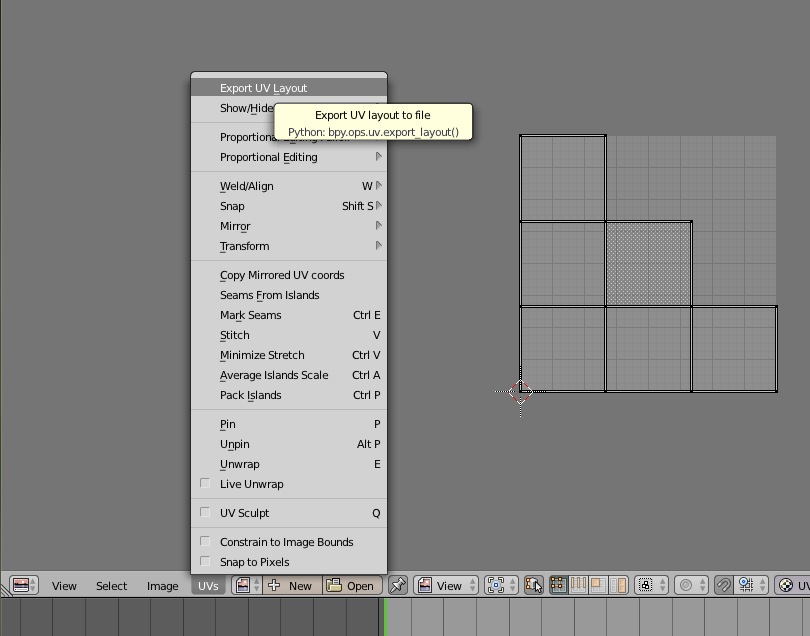
Export UV Layout (Texture Maps for IMVU) – Blender Knowledgebase
Source : www.katsbits.com
Blender Tutorial: Export UV Layout YouTube

Source : www.youtube.com
Blender 2.9 Export UV Layout Materials and Textures Blender
Source : blenderartists.org
UV Layout Blender 4.2 Manual

Source : docs.blender.org
Blender Save Uv Map How to export UV map? Materials and Textures Blender Artists : Another trick is to use the same weight maps and simply map colours to blender text blocks which are injected into the gcode at export time. These gcode blocks can be used swap tool heads or . Please inform the freelancer of any preferences or concerns regarding the use of AI tools in the completion and/or delivery of your order. Welcome! Here is Tainat a seasoned 3D character modeler with .